
Explore
Guides, resources, gear tips, and news for JOBY Content Creators. Get the most out of your gear!
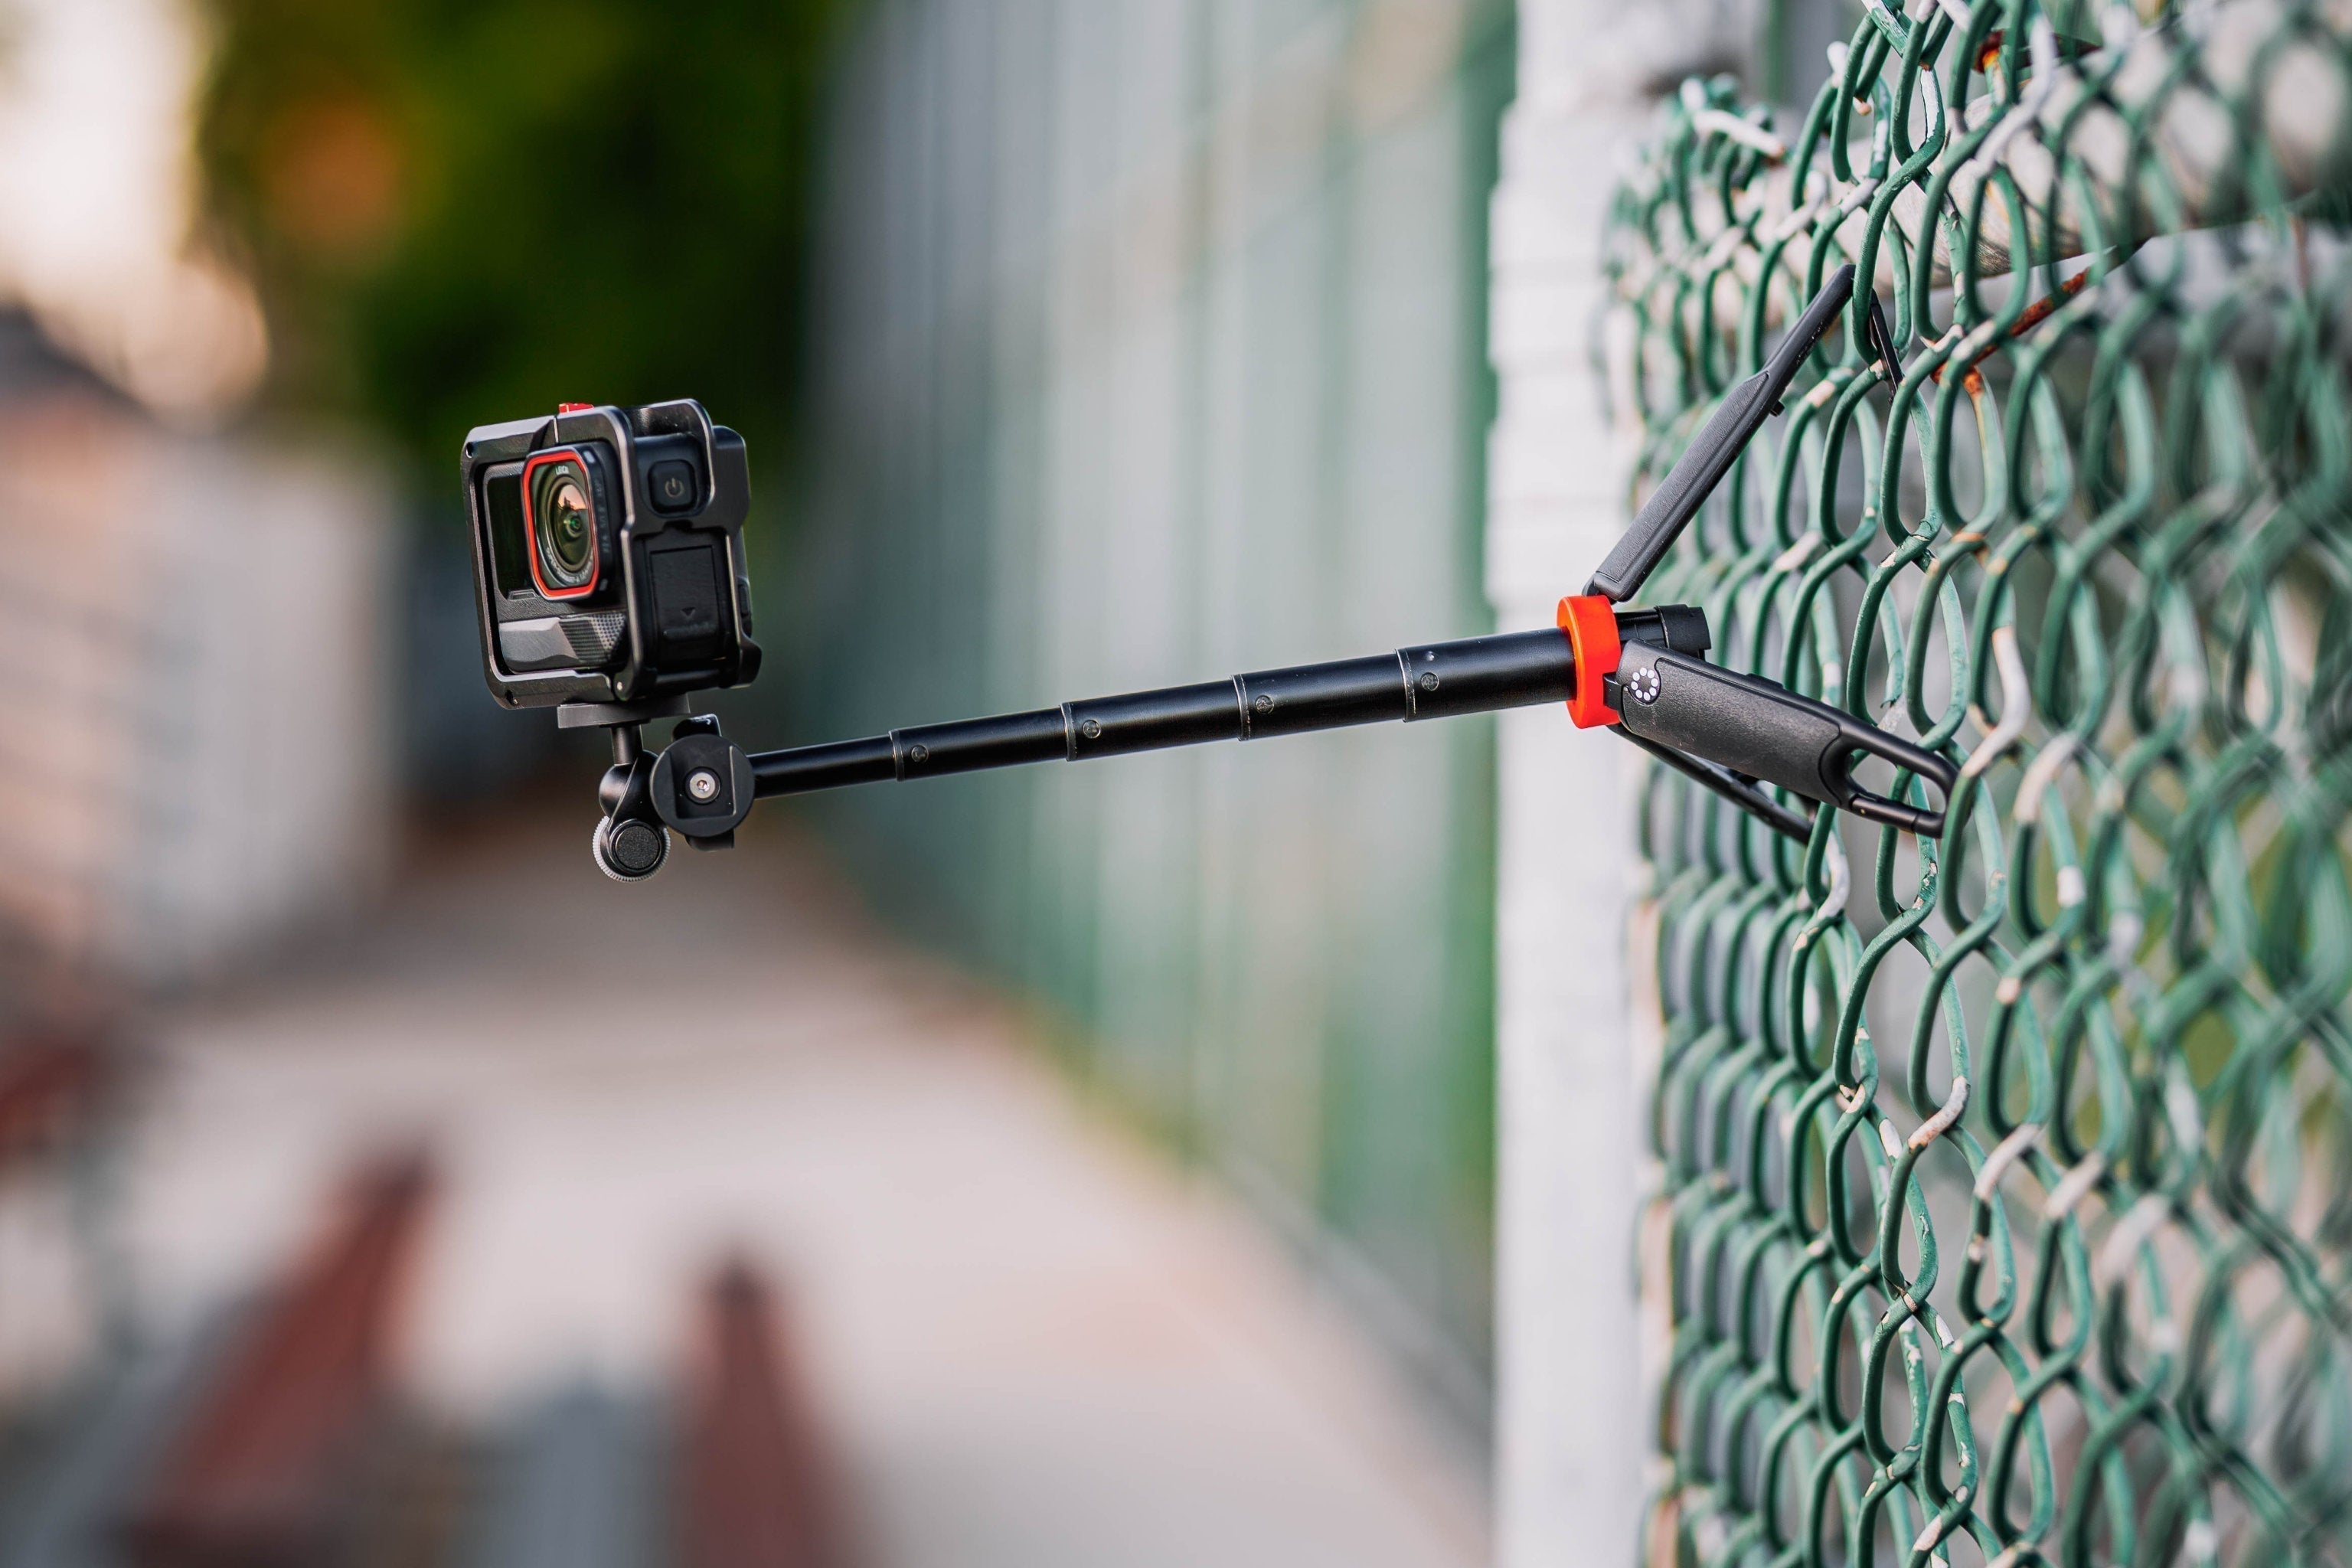
Introducing: HandyPod™ Clip Extend Tripod
JOBY announces HandyPod™ Clip Extend, designed for compact camera users who want a tabletop tripod, extendable selfie stick, and a mantis-style ledge mount into one lightweight design. And it clips to your bag or belt so it goes with you everywhere.

Introducing: JOBY GripTight® Cold Shoe Mount
JOBY announces GripTight® Cold Shoe Mount, a pocket-sized mount that brings your phone and camera together in one compact rig. At just 54.5g and small enough to fold flat into any pocket, it gives creators more ways to shoot without adding bulk.
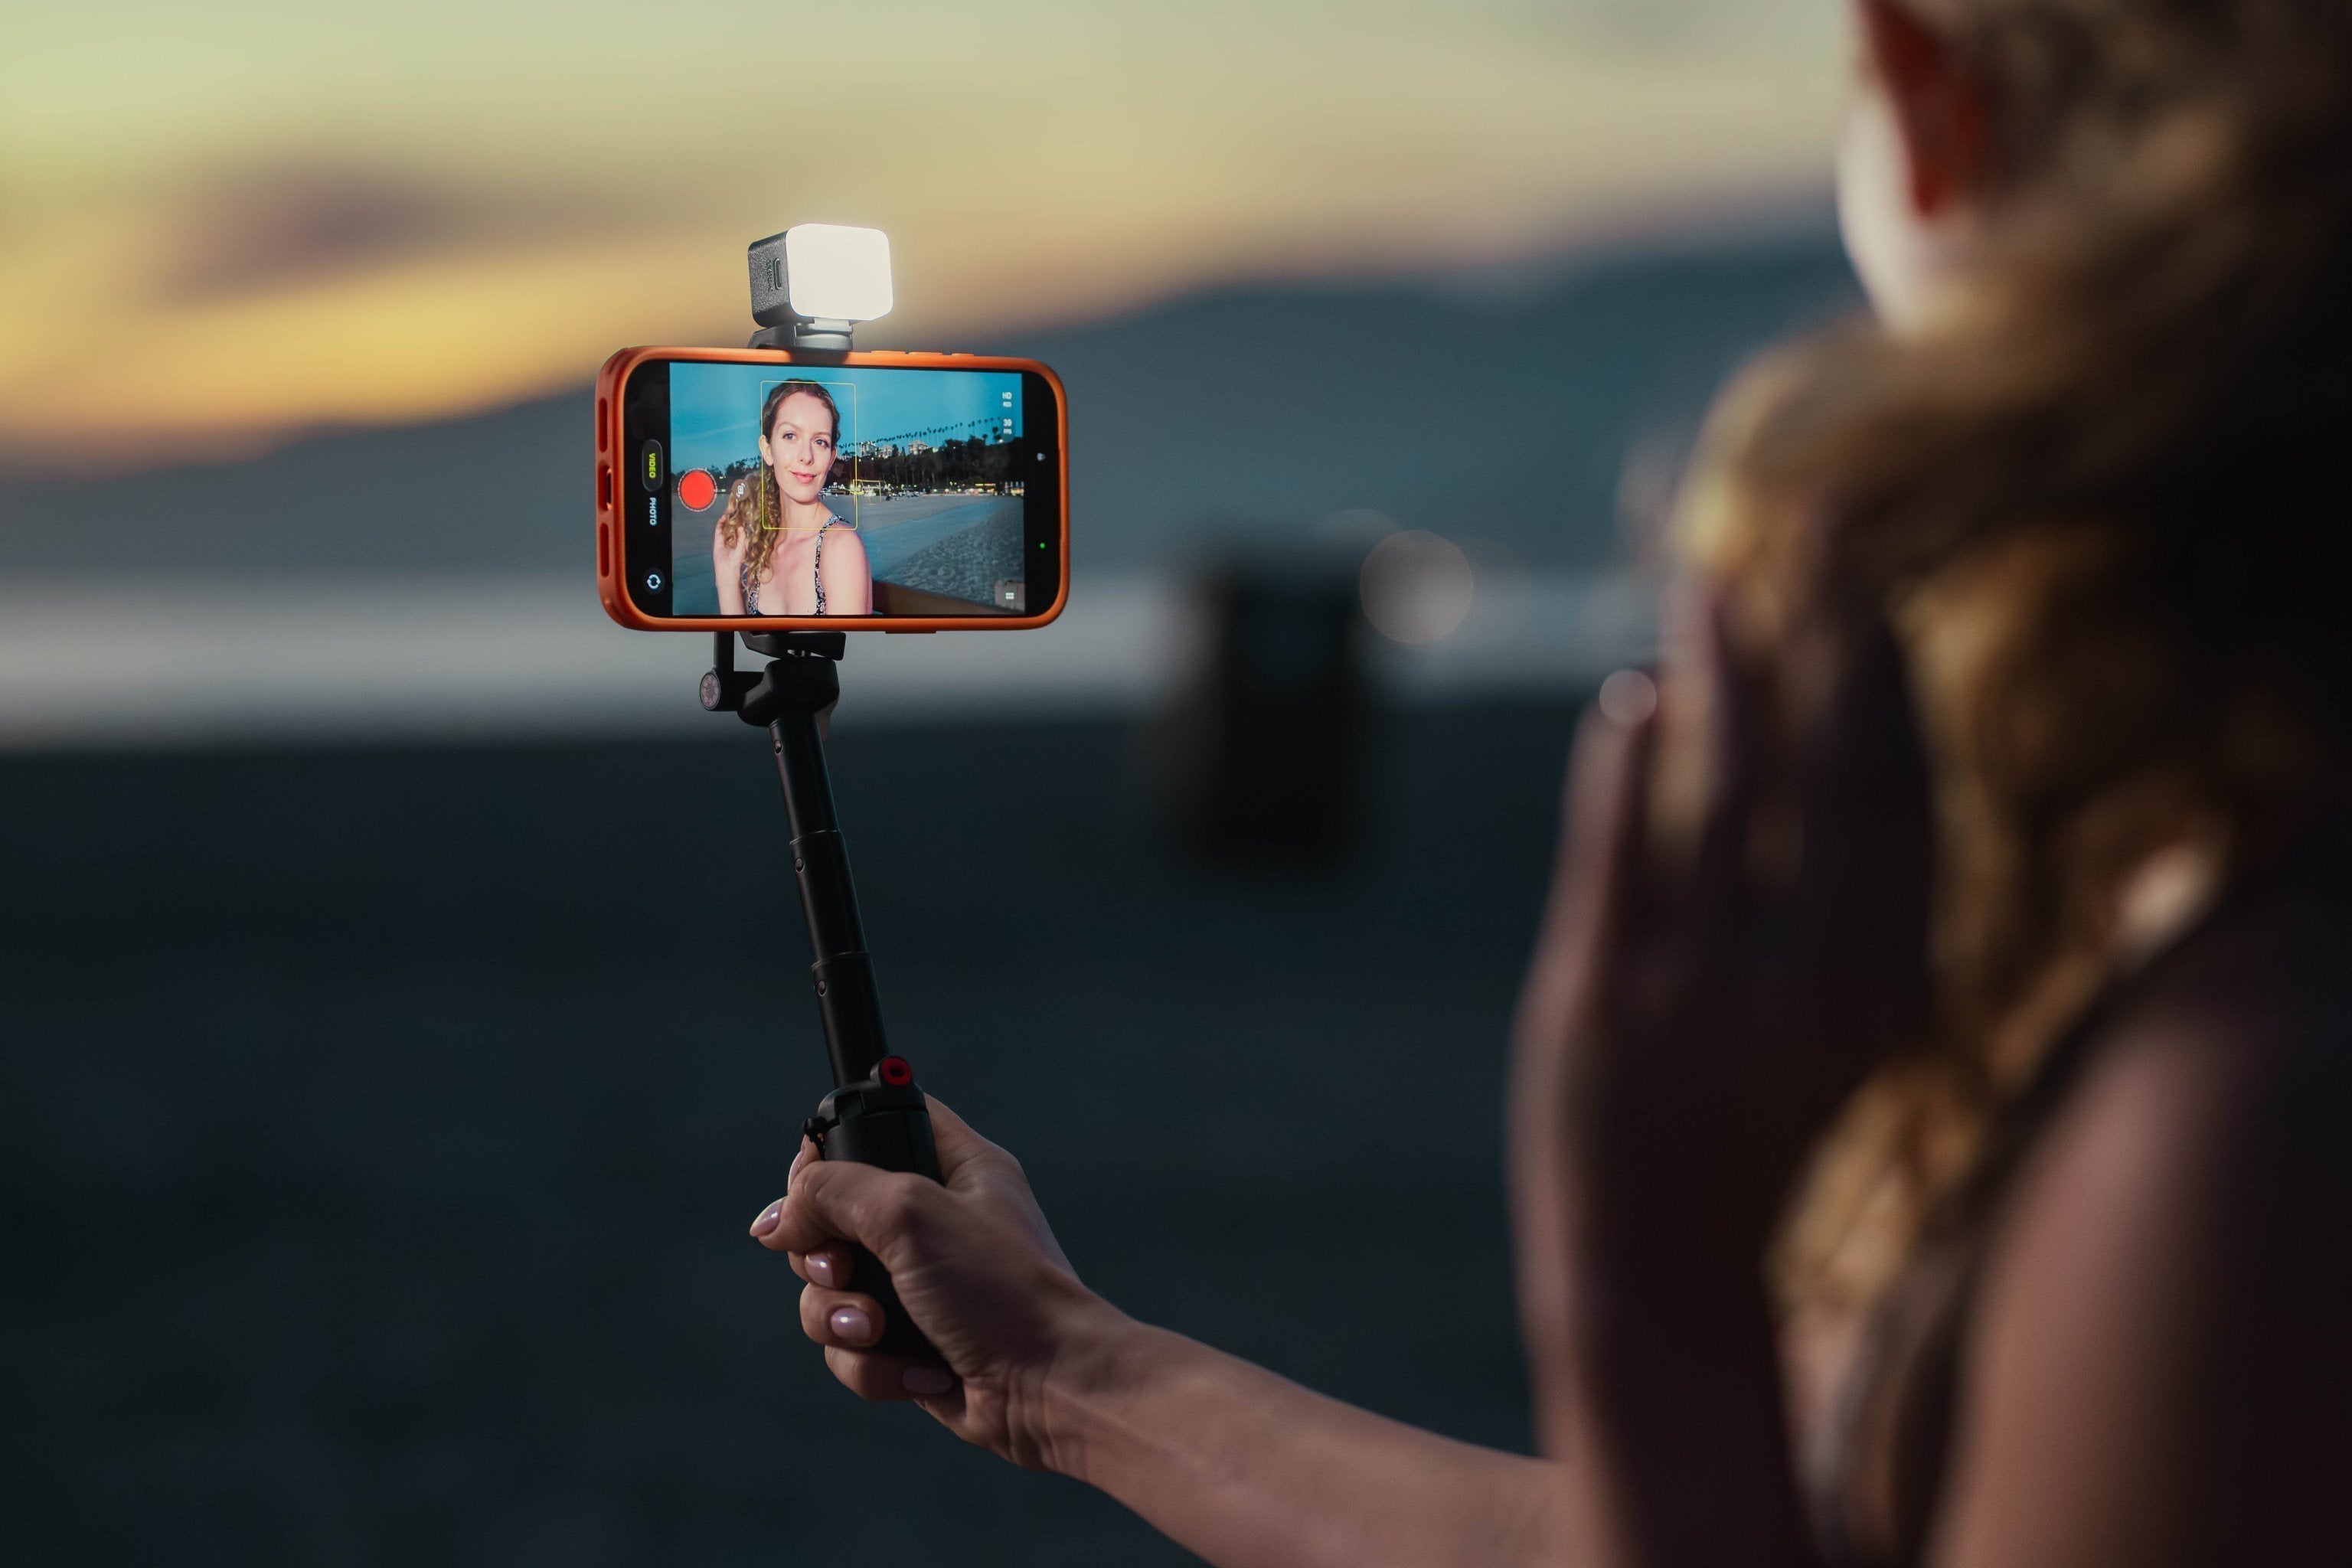
Introducing: JOBY TelePod® Mini Tripod
JOBY announces TelePod® Mini, a 3-in-1 telescoping tripod designed for creators who want a full-featured mobile rig that disappears into a pocket. It includes a 5600K fill light and wireless remote, so your complete kit is always within reach.
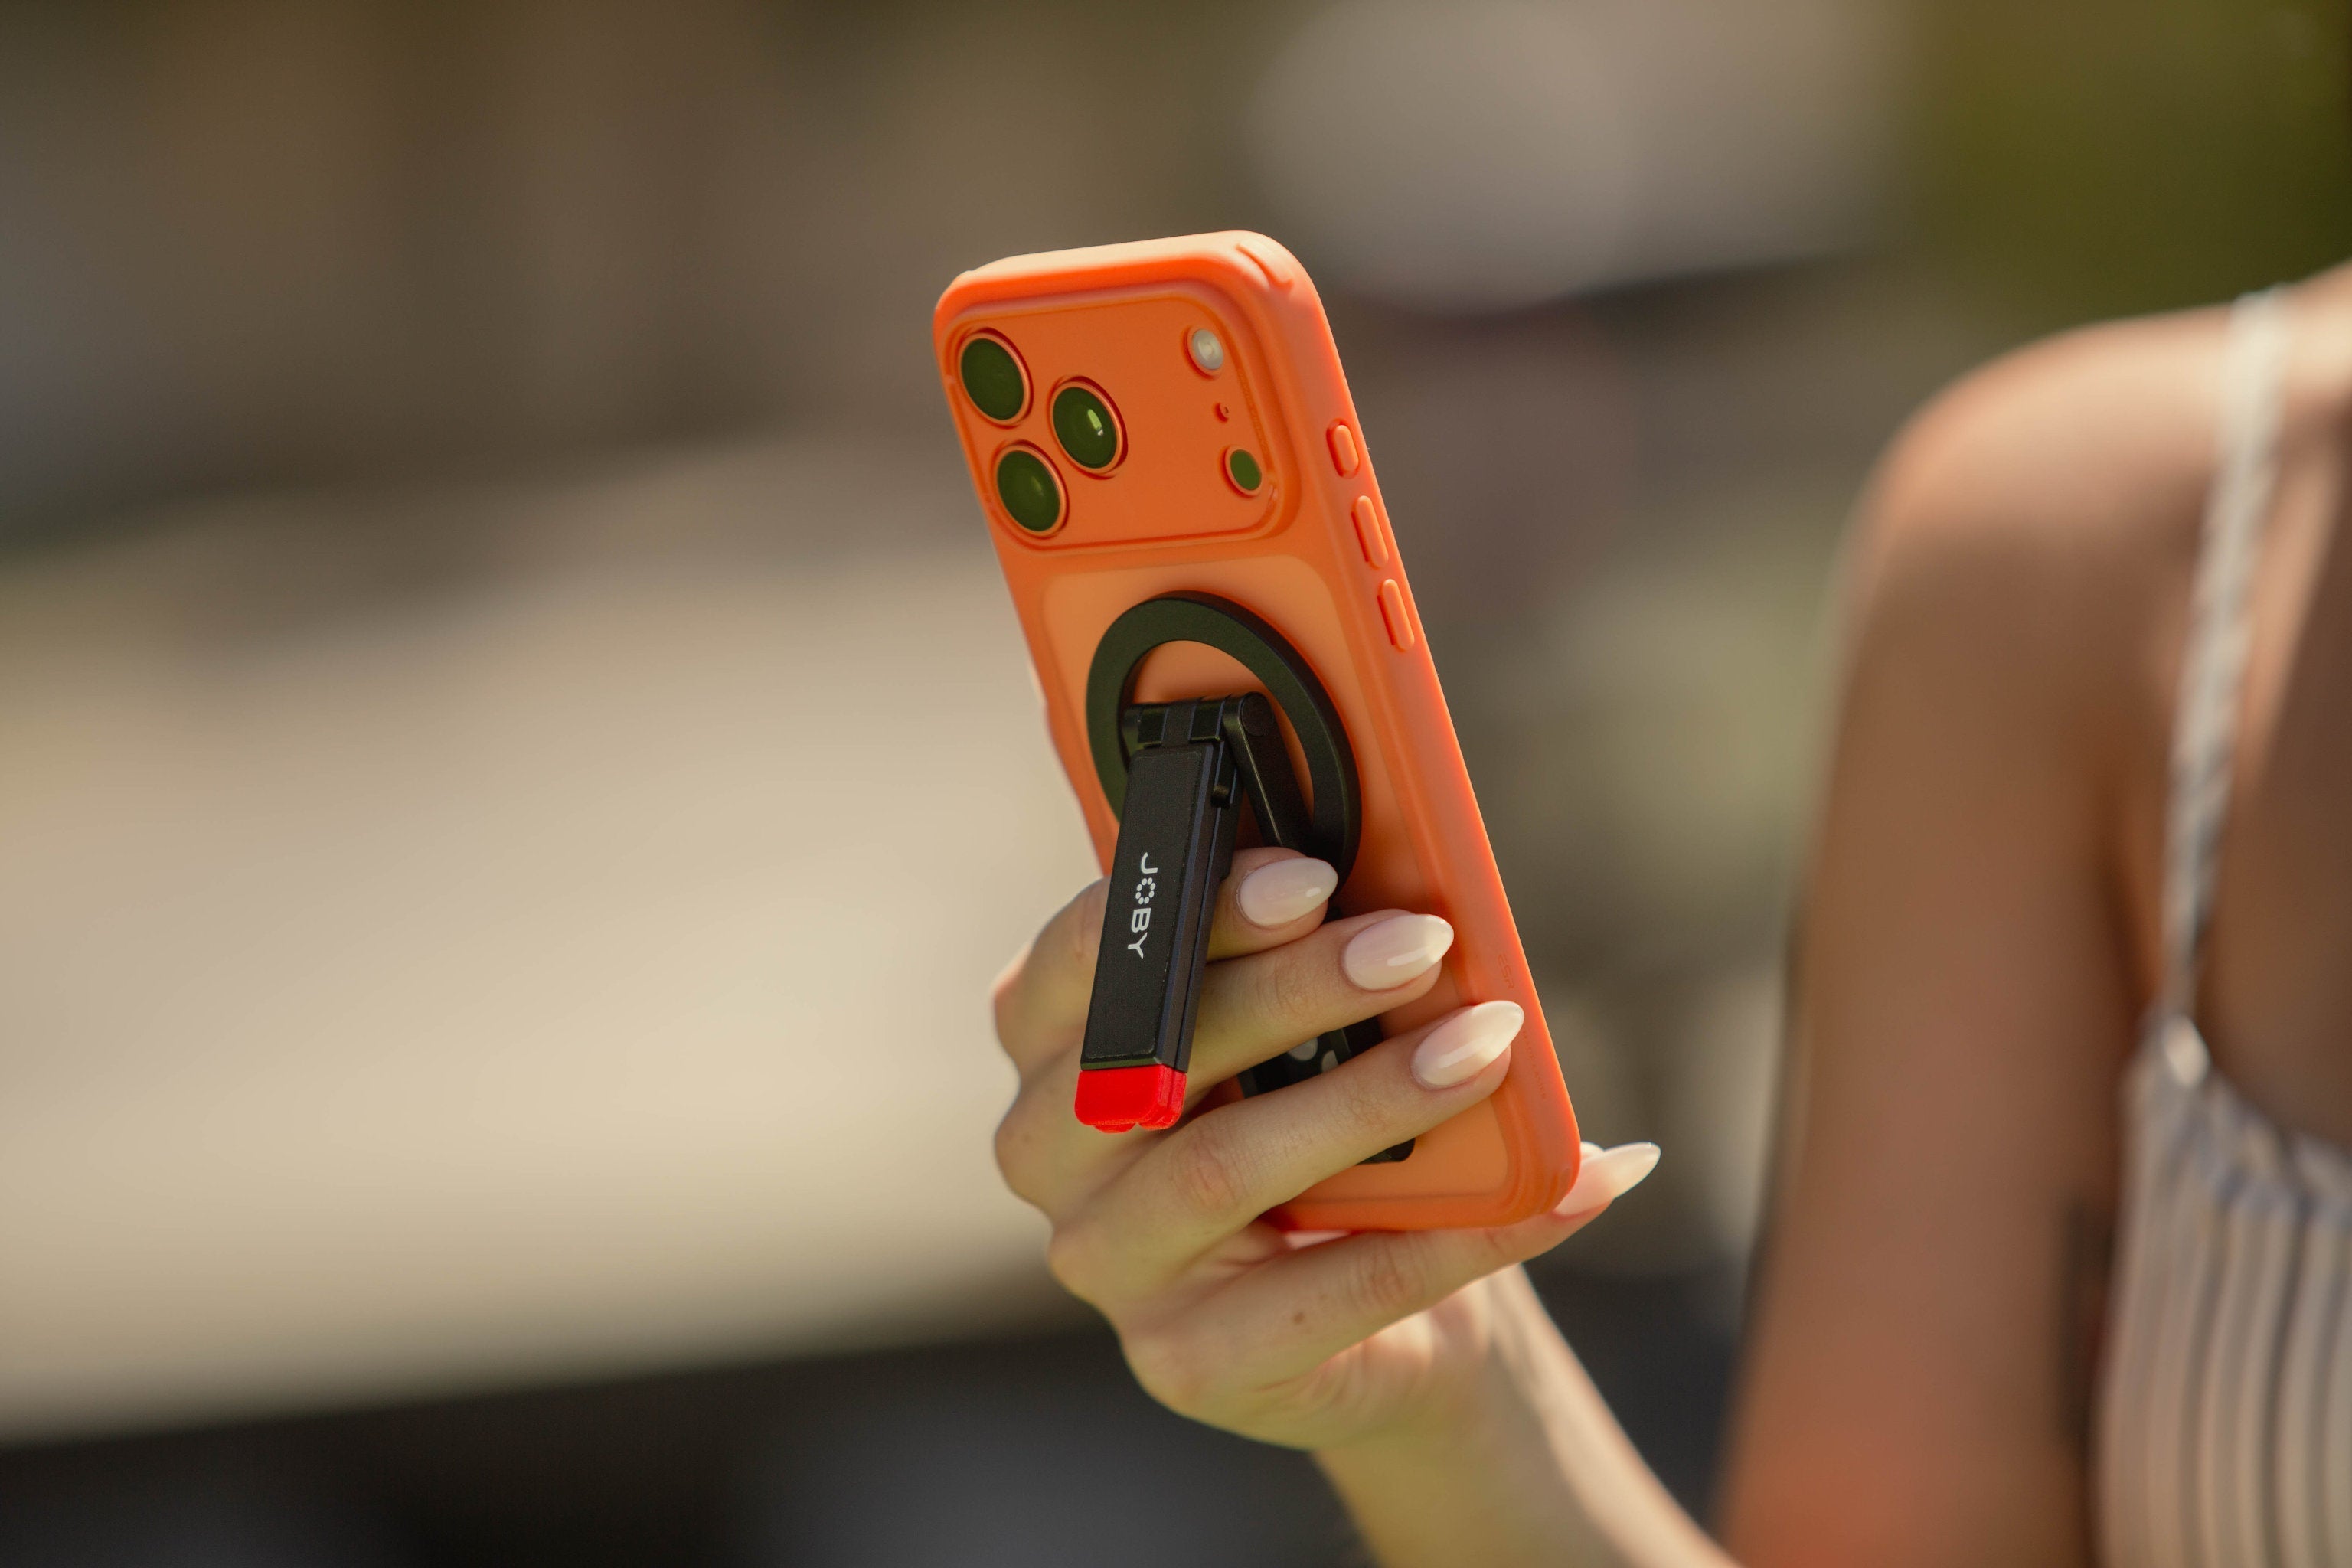
Introducing: JOBY NanoPod Magnetic Tripod
JOBY announces NanoPod, a magnetic folding tripod designed for creators who want a capable phone rig that truly fits in their pocket. NanoPod folds into an incredibly small size, and is the smallest JOBY phone tripod ever.
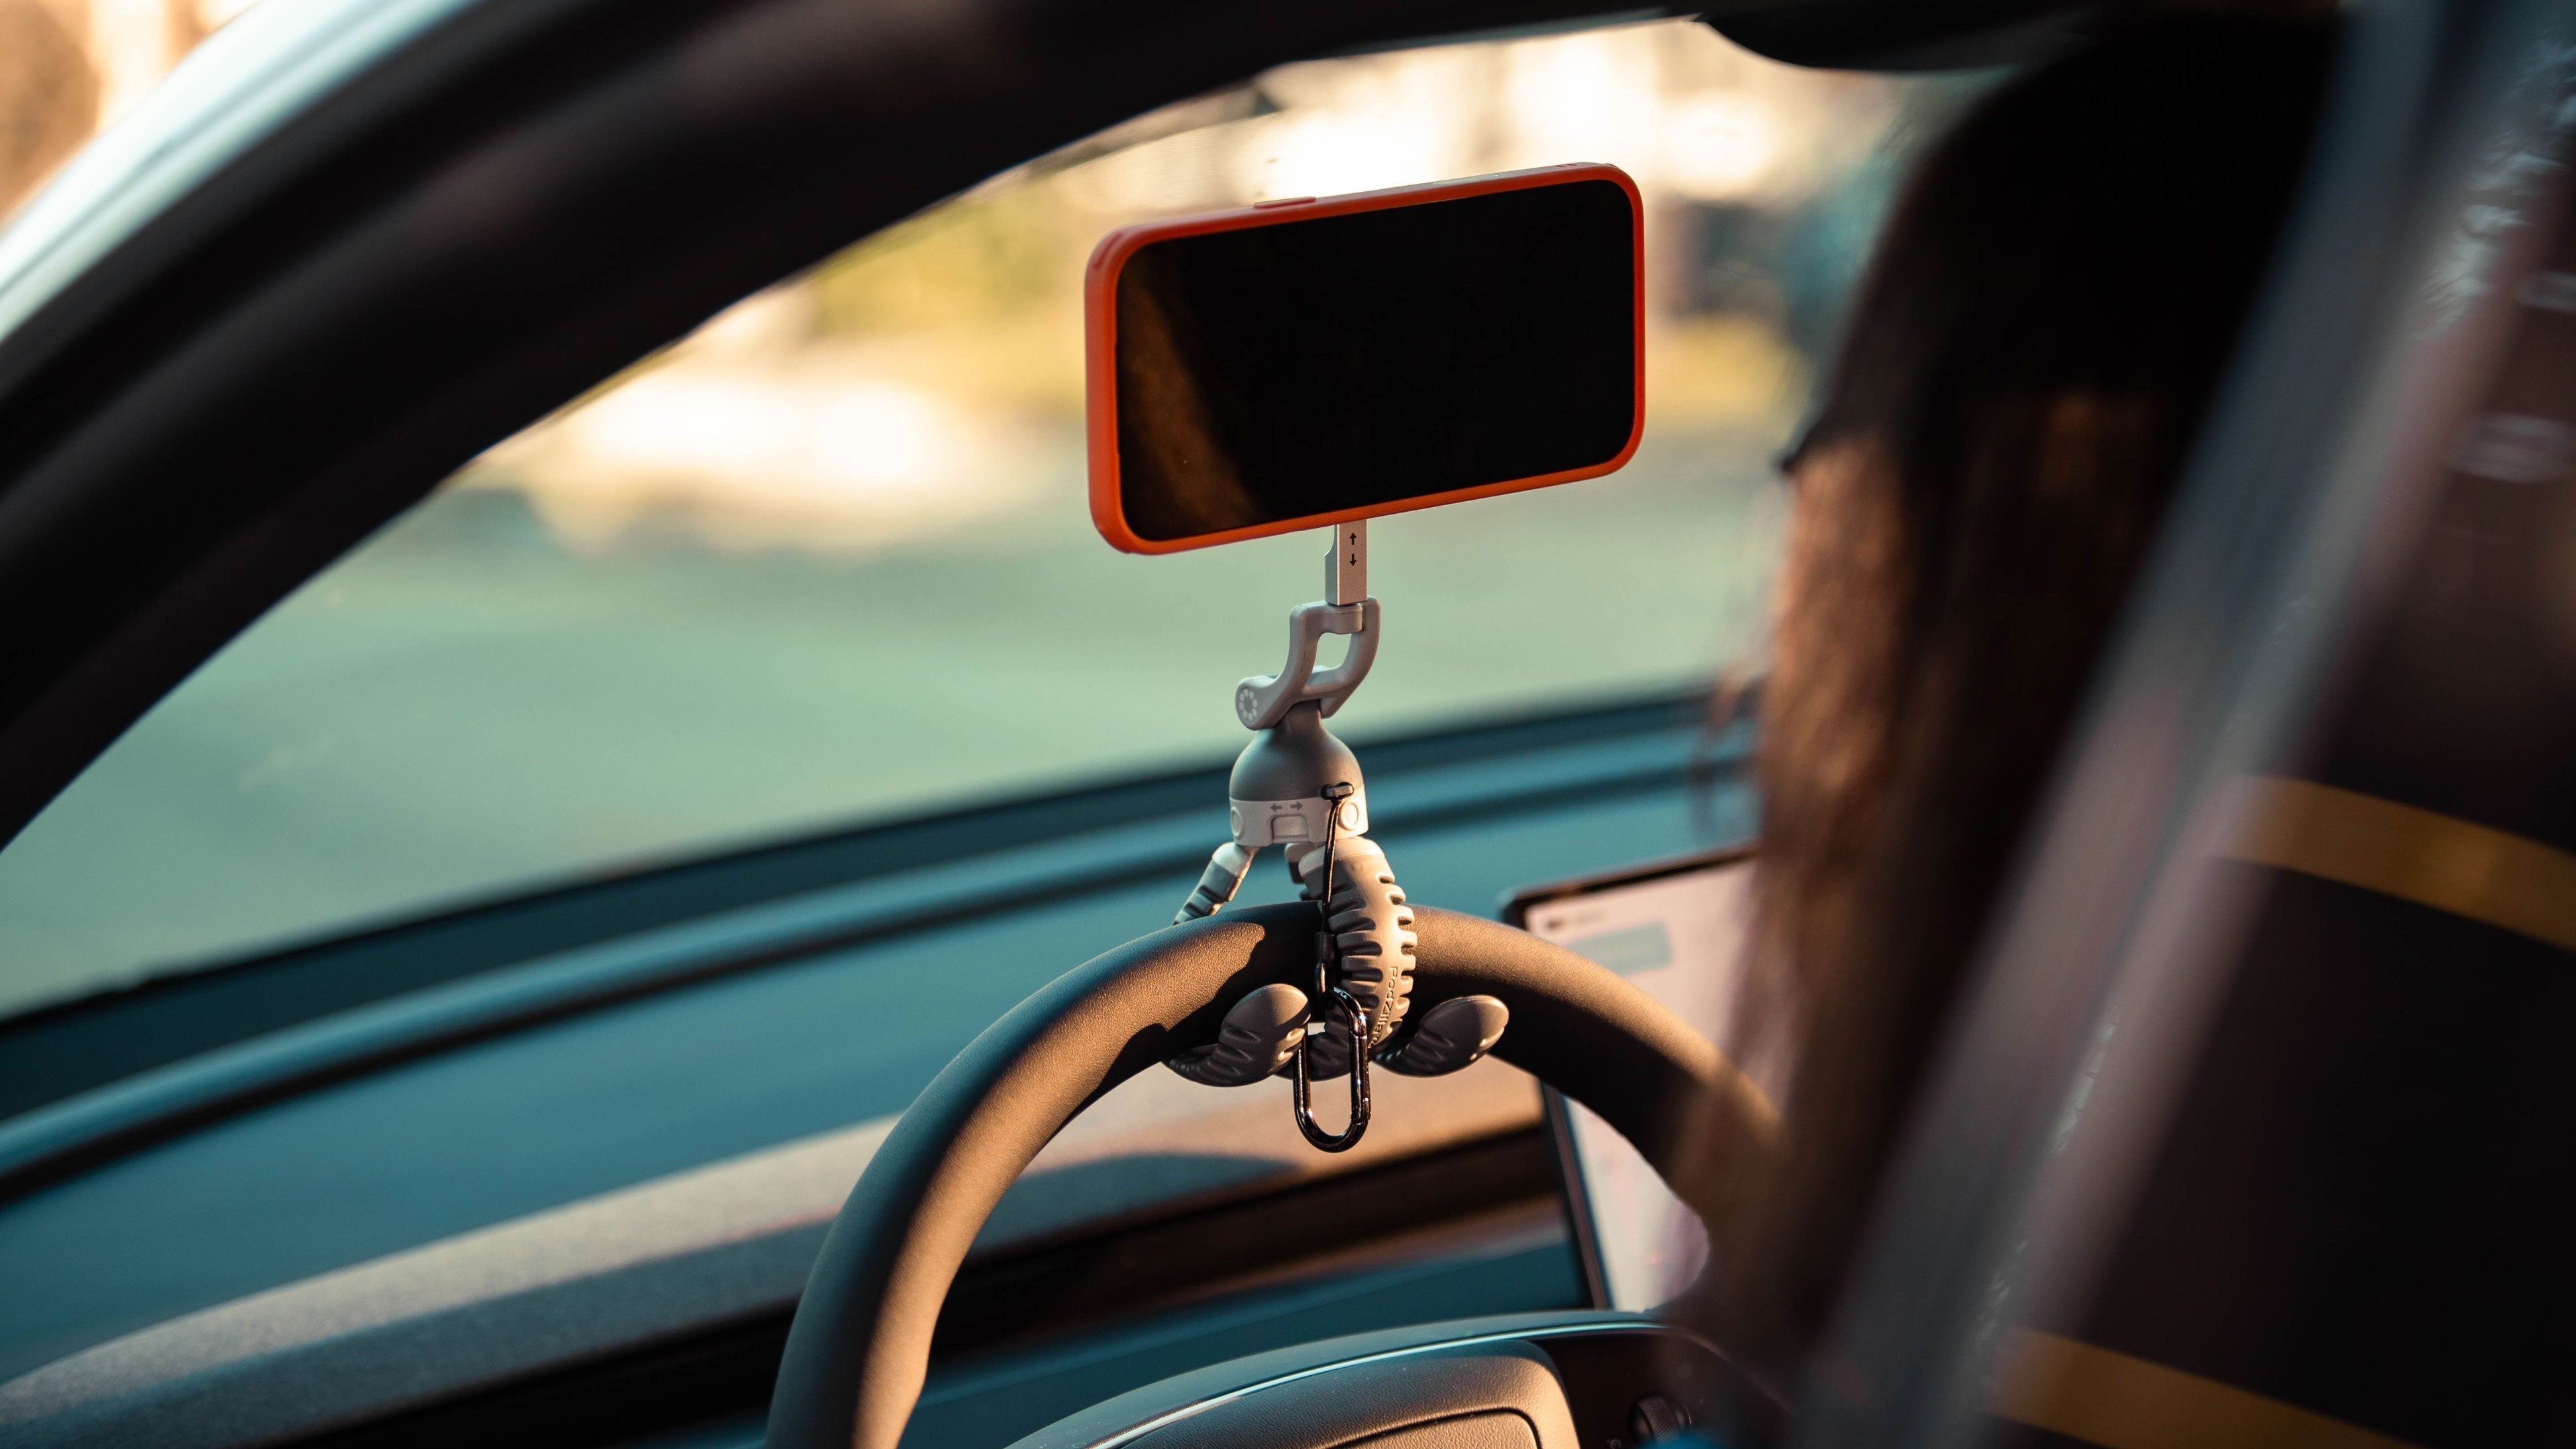
Introducing: JOBY PodZilla® Octo Suction Tripod
JOBY announces PodZilla® Octo, a magnetic octopus suction tripod designed for creators who refuse to be limited by their environment. Weighing just 146g and folding flat to 16.5 cm, PodZilla® Octo is the most versatile pocket-sized phone tripod JOBY has ever made.
Read moreabout Introducing: JOBY PodZilla® Octo Suction Tripod