


Clean Audio Enemies, Part 1: Wind
3 August 2023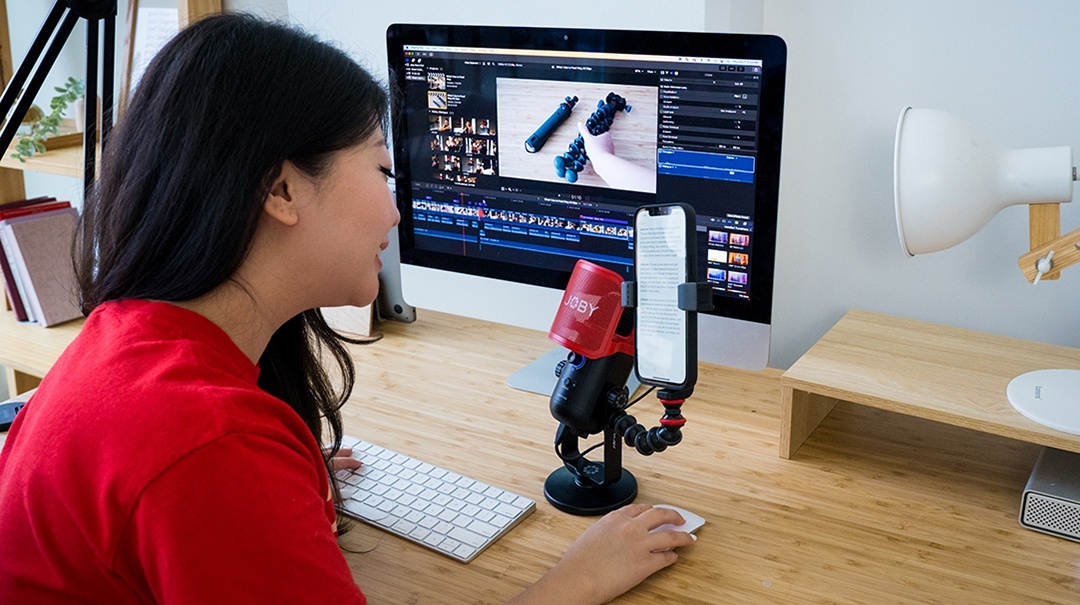
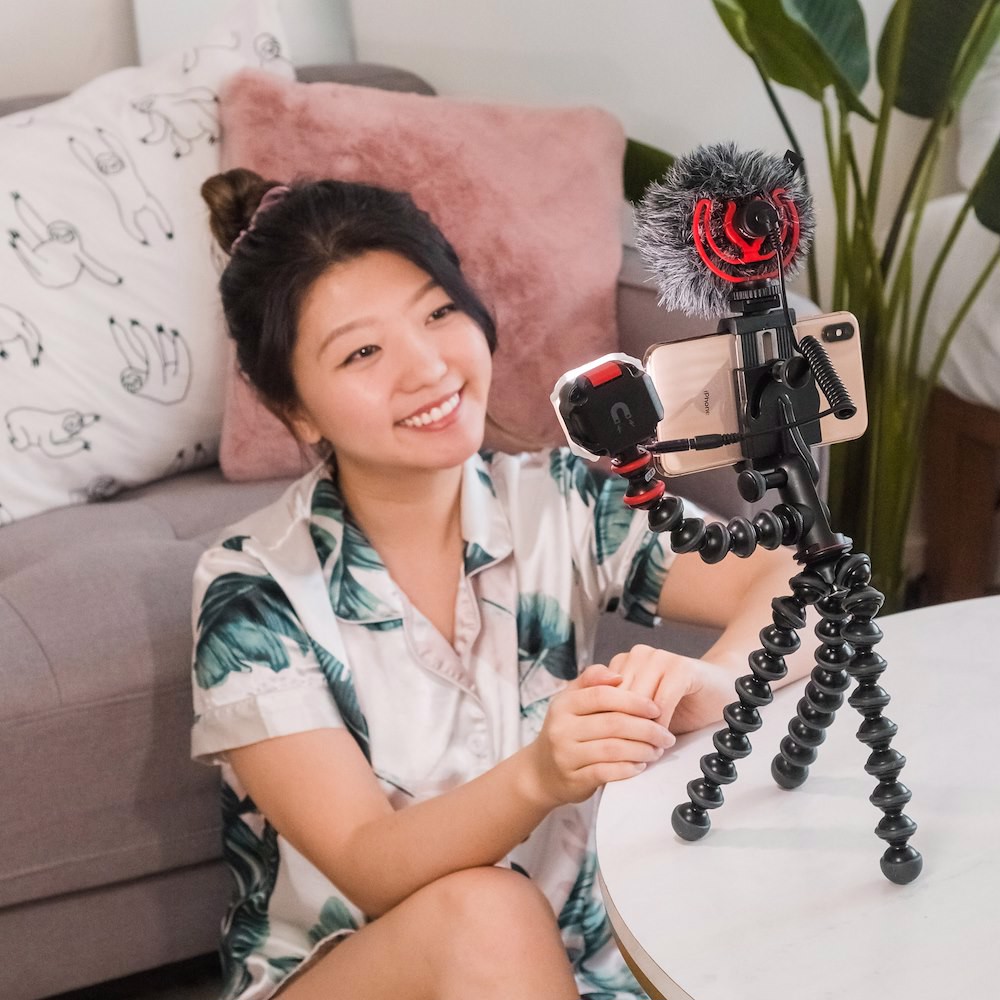
Good audio is the true driver of storytelling. From voiceovers to run-n-gun content or ambient recordings, sound remains a key element to deliver an engaging and meaningful experience for the viewer.
Good audio quality impacts the perception of the audience, making your story and opinions more authentic and believable.
Getting clean and consistent sound capture is a challenge for content creators of all levels so follow us in a three part journey to defeat the clean audio enemies 😊
Part 1: WIND
Mics are sensitive devices that capture air vibration (i.e: sound).
Contrary to what might seem at first glance, air does not physically move when transmitting sound, it just oscillates back and forth. By contrast, wind is the actual movement or flow of air in a specific direction.
Wind does not carry any sound but produces noise when interacting with surrounding objects. This is why it is so harmful to audio capture; wind can induce vibration into the microphone causing unwanted sound that can ruin an entire shoot.
All Wind-reduction devices have the objective to slow down or stop the air flow around the mic itself and do so without creating any acoustic vibration.
Beside the natural one, there are also artificial sources of wind:
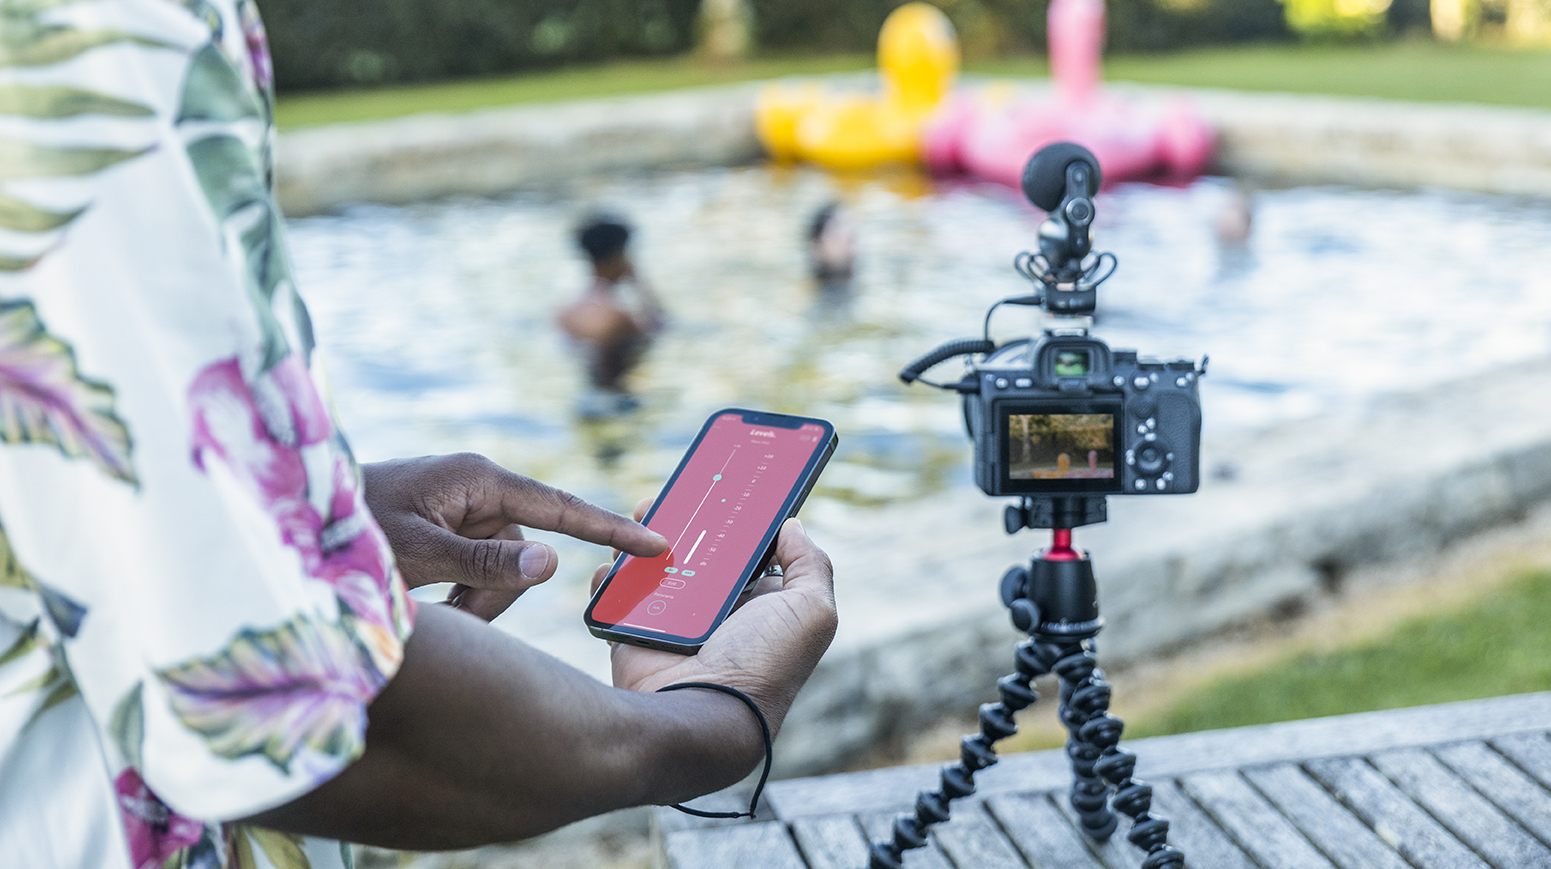
One happens when the microphone itself is moving at speed. Think about shooting video while skateboarding (Casey Neistat vlogs anyone?), or going on a convertible car, bike or even airplane.
The other comes when using microphones to record voices or speech in a nearfield configuration. Mouth pops are effectively small puffs of air that directly hit the mic causing that terrible popping sound.
Let’s explore the options in our hand to fight wind noise:
1. Location, position & planning.
While it may sound obvious, these are the first steps in improving a windy situation. Even when shooting outdoors, changing the location where you’re filming can greatly reduce the impact of wind in your recordings. Surrounding buildings or structures can be enough to slow down or change the direction of the air flow and help you get clean audio.
“An hour of planning can save you 10 hour of doing” - Dale Carnegie
Planning is also a crucial step: the weather forecast is your best friend to easily get an estimate of the wind speed and direction and move accordingly.
While better than nothing, these techniques can be very limited. The best way is combining this mindset while using dedicated accessories to obtain the best results.
2. Low Cut Filter:
The vibrations caused by wind are largely in the low frequency range (i.e.: bass, low notes)
Activating the low-cut filter on your microphone can greatly help in eliminating wind noise:
This is especially effective in combination with dedicated accessories and is highly recommended in more severe winds.
Some Mics in our range, like
or
mic, have a fixed low cut filter option (100 Hz) that will get the job done.
Our
evolves on this concept by having parametric Equalizer: this means that amongst other functions, you can fine tune and choose the exact frequency of the low-cut filter.
This can be useful in high winds to further cut down on noise (going over 100 Hz) or in calmer situations to remove rumble while preserving as much bass as possible (e.g.: setting the filter at 60-80 Hz).
3. Dedicated accessories
The most effective way of reducing wind noise is using dedicated accessories.
These practical tools can control the noise generated under windy conditions with an overall reduction of up to –20 to –30 dB.
These oftentimes come included in the box of the microphone and are usually in two forms:
1) foam screens

2) synthetic fur windjammers
The rule is very similar for both big, directional microphones and for small, wearable lavaliers.
The foam covers are great to protect from light breeze and from voice popping sounds. Directional mics like
come with a pre-installed foam cover that we recommend keeping on the mic at all times.
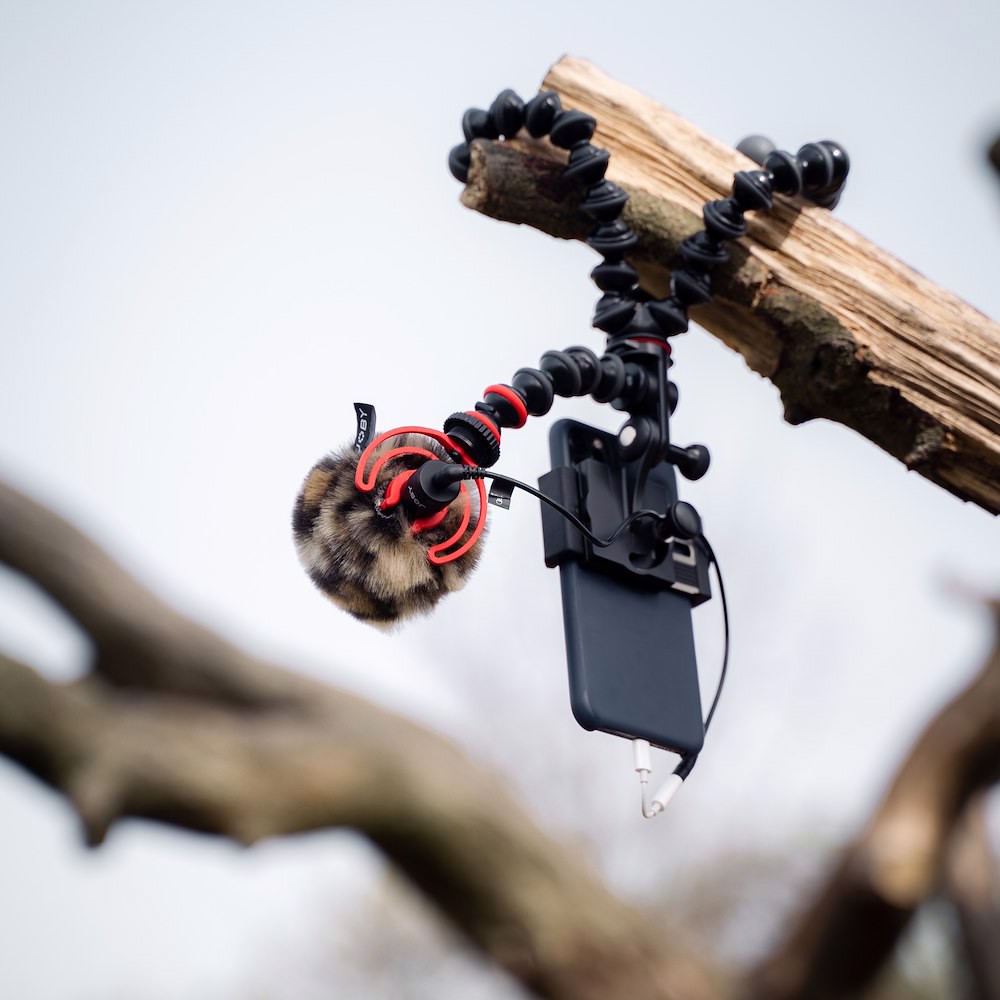
With more serious wind, a dead cat or windjammer is highly recommended if not mandatory to avoid bad surprises.
Make sure that the foam and/or the windjammer fit the microphone very thightly. Small gaps can let wind pass through and ruin your audio so pay extra attention when setting up before shooting.
When shooting indoors, we recommend you to remove any windjammer from your microphone. While it might be temping to always leave it on for convenience’s sake, there is an acoustic performance tradeoff the more stuff you put on the mic (think about having one or multiple blankets over your head) so in a controlled environment it’s best to not use it.
Speaking of indoor activities, when recording a podcast or a similar nearfield application, mouth pops can be detrimental to the final recording. To avoid these, special screens, the so called “pop filters”, needs to be placed between the speaker and the mic to mitigate this issue. Pop filters come in different materials, oftentimes a nylon or a metallic fine mesh.
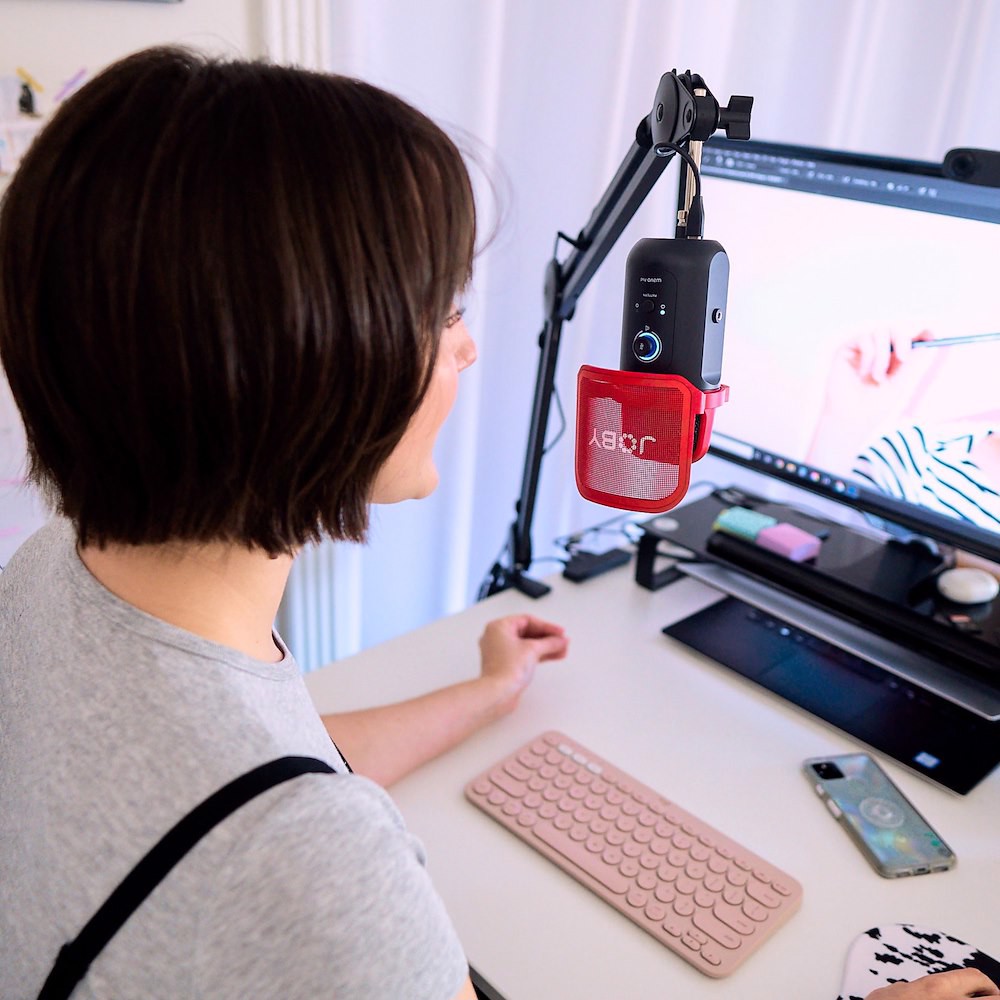
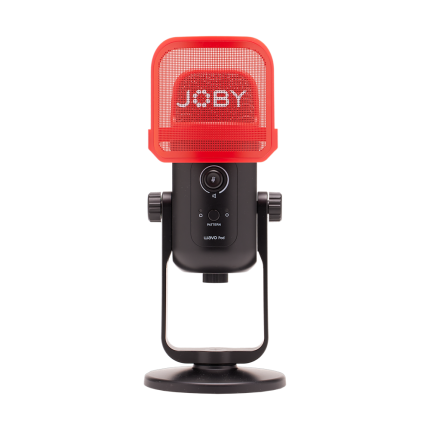
Our USB podcasting mic, The
, comes with a preinstalled pop filter so you’re ready to record perfect audio out of the box.
Conclusion
Hopefully you now have a better understanding of wind noise and how you can get clean audio even in challenging conditions. Stay tuned for part 2 where we will cover structure borne vibrations and how to get rid of them!